
Detect and Crop
Ultralytics Object Cropping detects objects and writes each bounding-box crop to disk. This tutorial makes the inference, crop side effect, and final rendering explicit pipeline steps.
Before you begin, follow the Installation instructions. Run the Python snippets in order in the same script or notebook.
| Before | After |
|---|---|
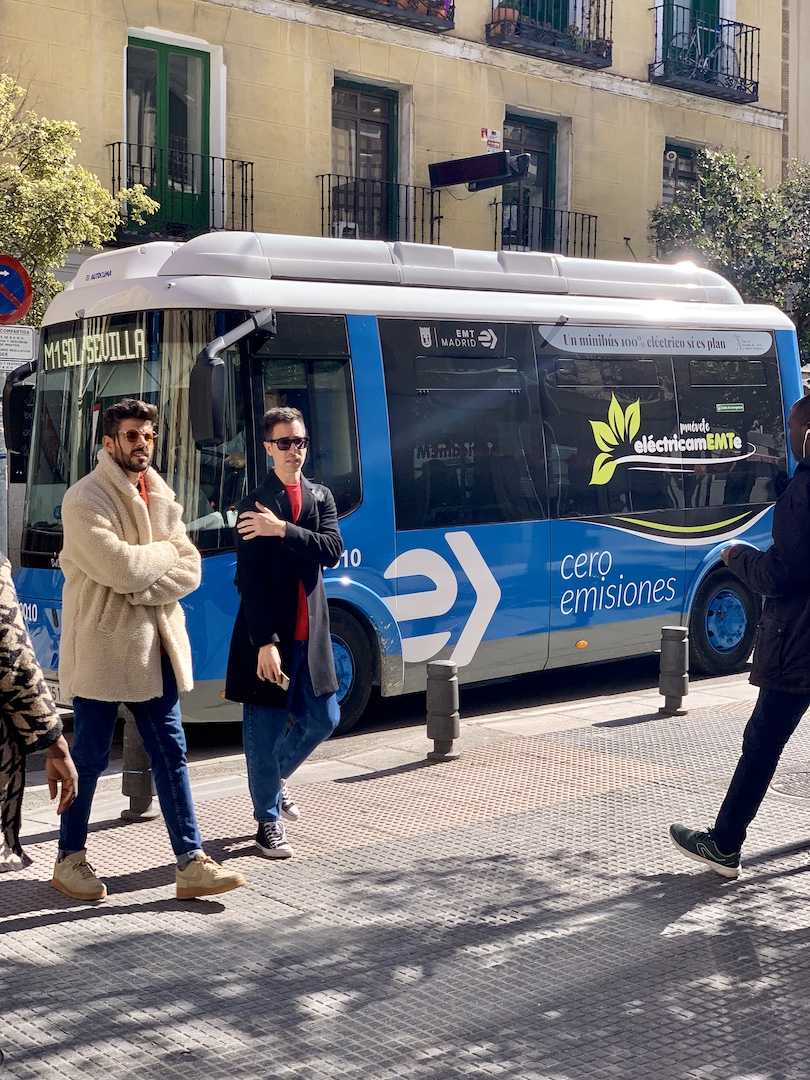 |
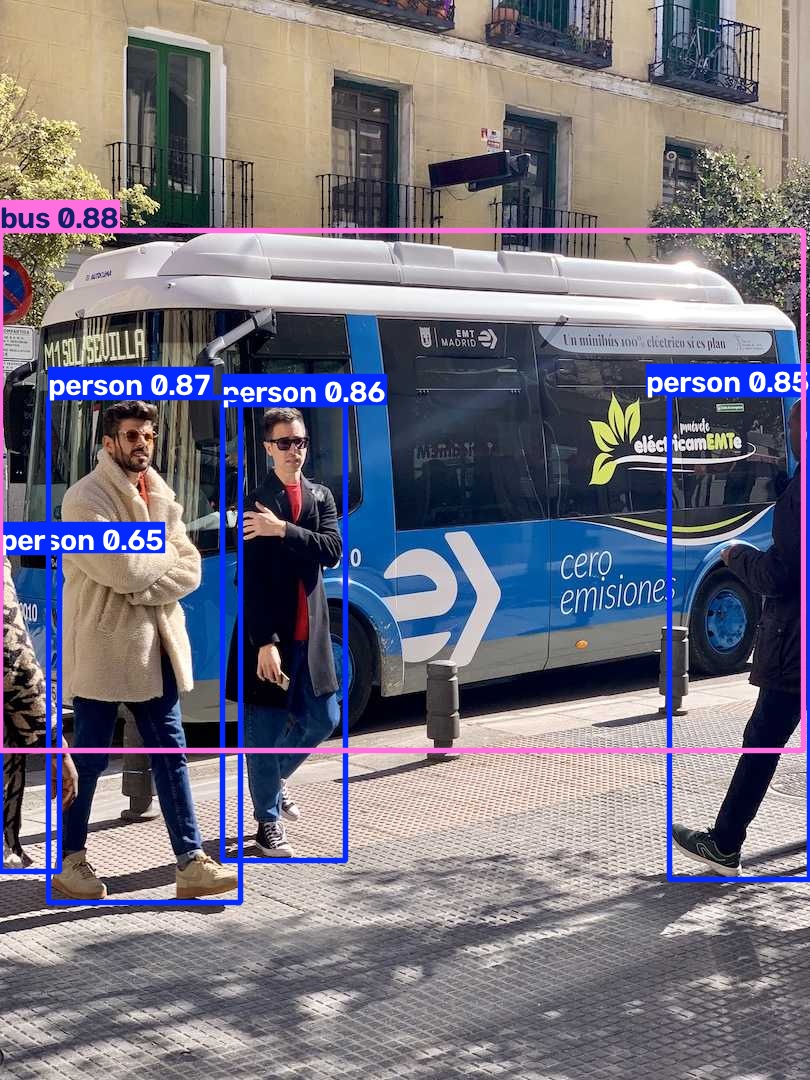 |
Build the pipeline
yolo.Predict returns native list[Results]. A single image still produces a
list, so Select(0) makes the one native result available to the following
operators. results.SaveCrop is a side effect: it saves crops and passes that
same Results object to results.Plot.
from pathlib import Path

from ml_pipes.core import Pipeline
from ml_pipes.standard import Select
from ml_pipes.ultralytics import results, yolo

pipeline = Pipeline(
    [
        yolo.Predict(model="yolo26n.pt", conf=0.25),
        Select(0),
        results.SaveCrop(Path("crops")),
        results.Plot(save=True, filename="annotated.jpg"),
    ],
    auto_validate=True,
)
Run it on an image
The pipeline accepts the BGR array decoded by OpenCV and returns the annotated BGR array. Crop writing and annotated-image saving happen inside their configured result operators.
import cv2

image = cv2.imread("bus.jpg")
if image is None:
    raise RuntimeError("Could not load bus.jpg")

annotated = pipeline(image)
print(annotated.shape)
The bus and person directories below are produced by the SaveCrop step.
bus/im.jpg |
person/im.jpg |
|---|---|
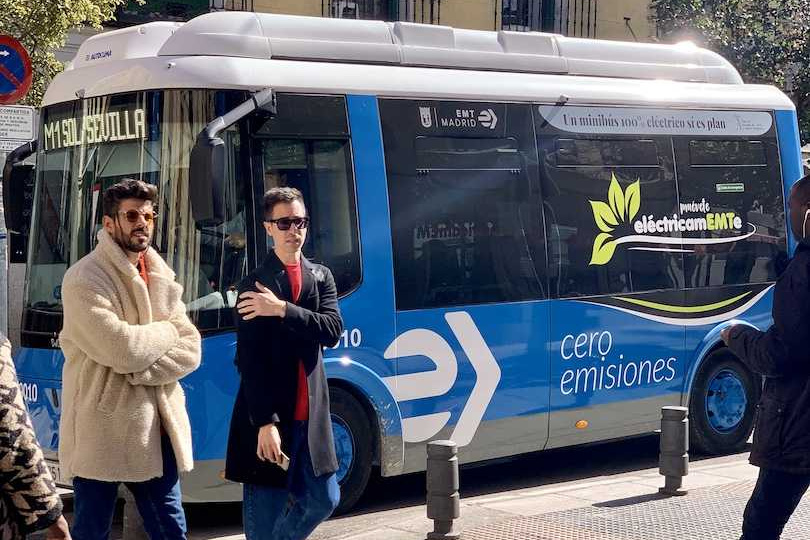 |
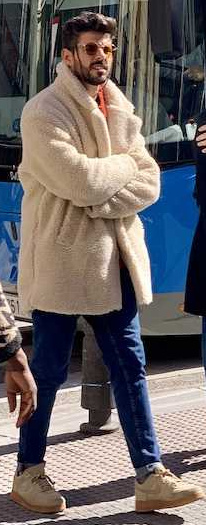 |
Run the example
To run the complete example script instead, clone the repository, then run these commands from its root directory:
python examples/run_detect_and_crop.py
python examples/run_detect_and_crop.py --source path/to/image.jpg --show
See run_detect_and_crop.py
for all command-line options.