
Segment and Annotate
Ultralytics instance segmentation adds a mask to every detected instance. This pipeline keeps the native result intact until the final plotting step, where Ultralytics renders masks, boxes, labels, and confidence values.
To export individual objects as transparent PNGs, continue with Isolate Segmented Objects.
Before you begin, follow the Installation instructions. Run the Python snippets in order in the same script or notebook.
| Before | After |
|---|---|
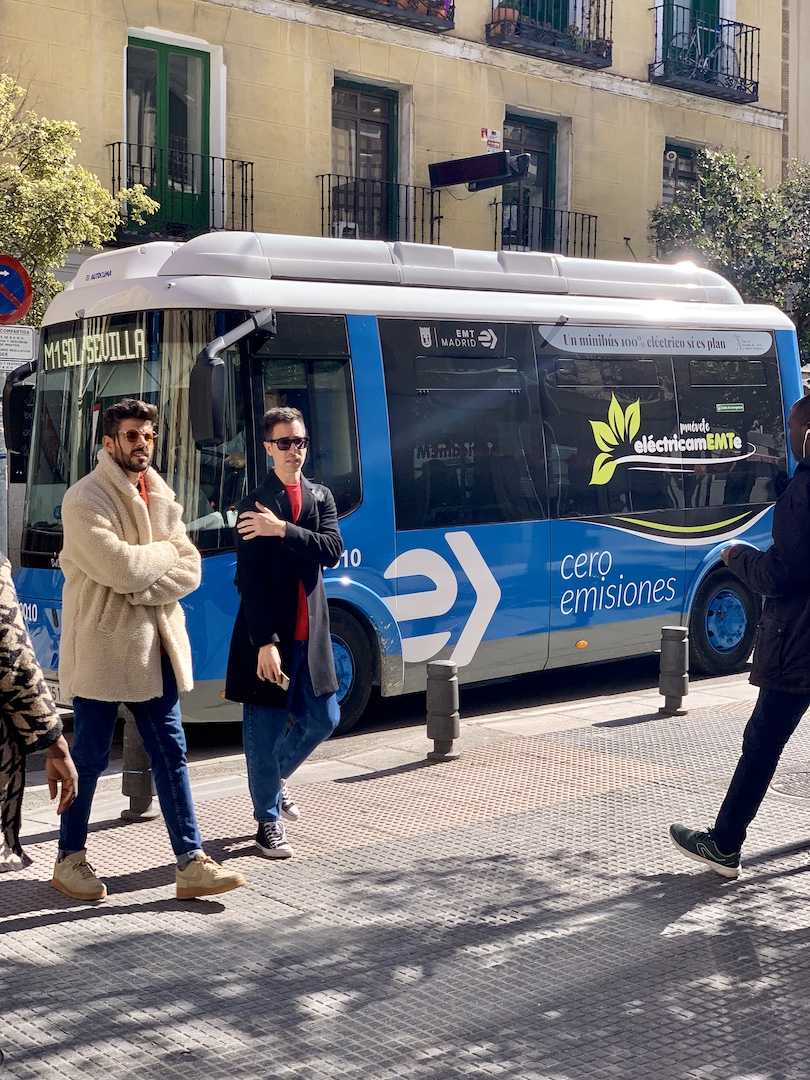 |
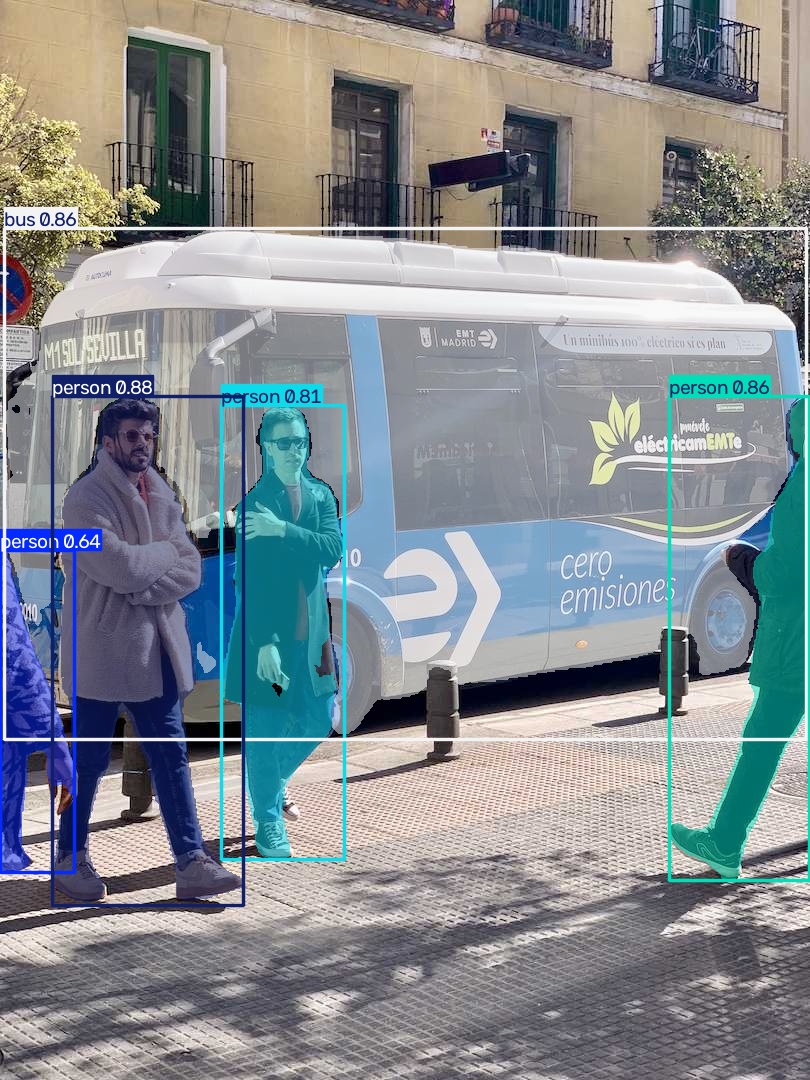 |
Build the pipeline
Use a segmentation checkpoint and select the one result for the input image.
color_mode="instance" gives each detected instance its own mask colour.
from ml_pipes.core import Pipeline
from ml_pipes.standard import Select
from ml_pipes.ultralytics import results, yolo

pipeline = Pipeline(
    [
        yolo.Predict(model="yolo26n-seg.pt", conf=0.25),
        Select(0),
        results.Plot(
            boxes=True,
            labels=True,
            conf=True,
            color_mode="instance",
            save=True,
            filename="segmented.jpg",
        ),
    ],
    auto_validate=True,
)
Run it on an image
The call boundary contains data only: model and plot configuration were fixed when the pipeline was built.
import cv2

image = cv2.imread("bus.jpg")
if image is None:
    raise RuntimeError("Could not load bus.jpg")

annotated = pipeline(image)
cv2.imwrite("segmented-copy.jpg", annotated)
Run the example
To run the complete example script instead, clone the repository, then run these commands from its root directory:
python examples/run_segment_and_annotate.py
python examples/run_segment_and_annotate.py --source path/to/image.jpg --show
See run_segment_and_annotate.py
for all command-line options.